How to Build a Curated Ear: Earring Placement, Spacing and Metals

This post may contain affiliate links. Read our affiliate policy
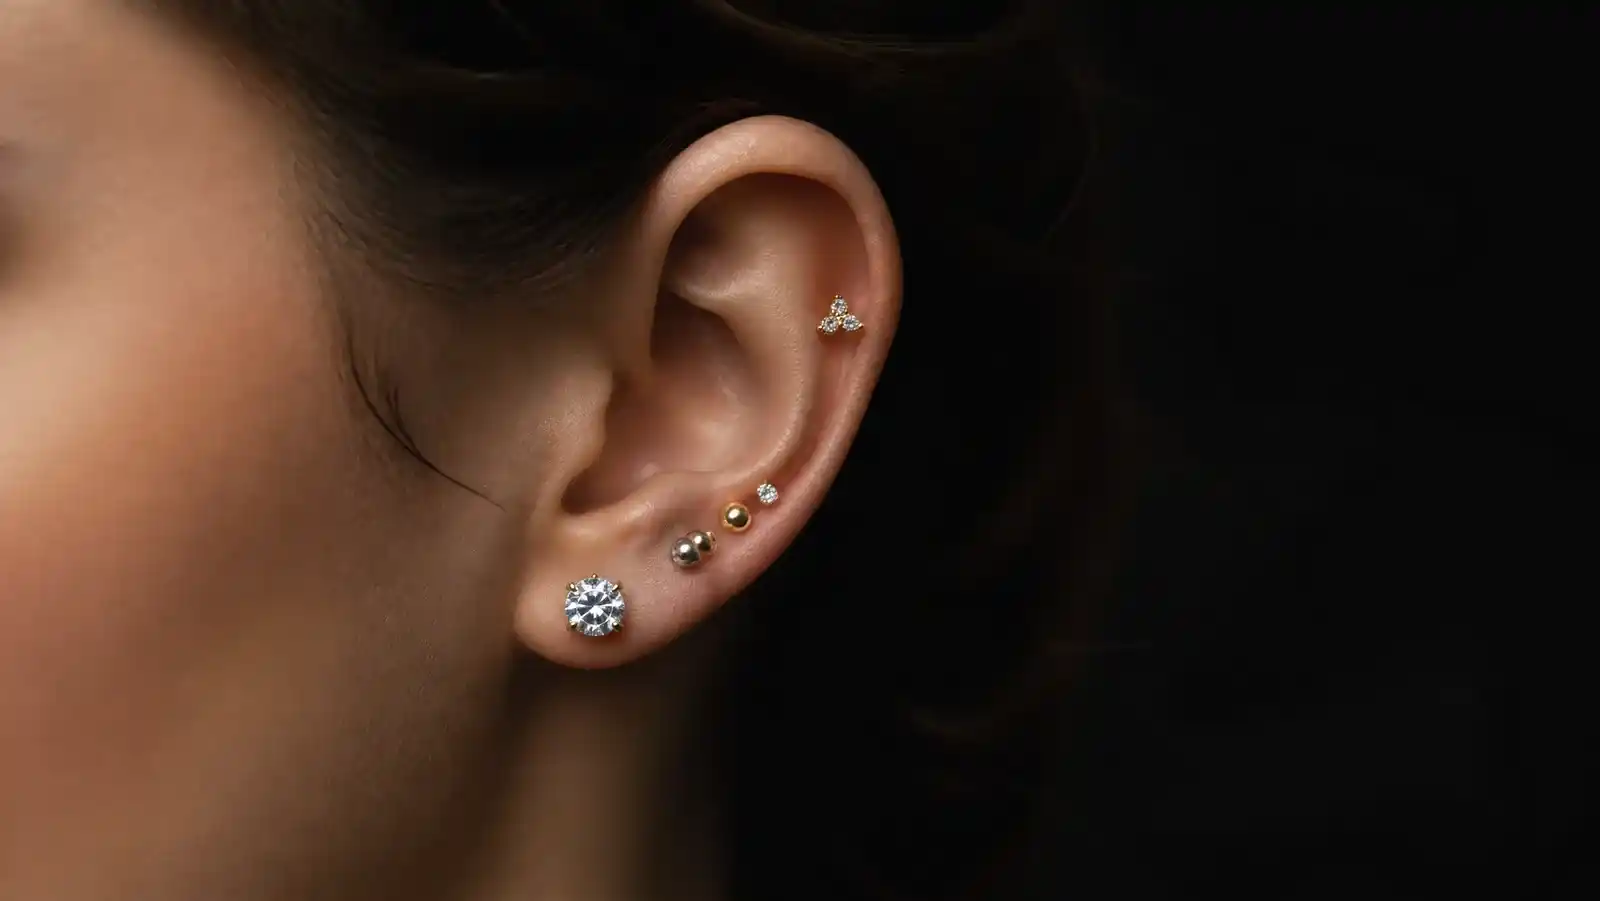
To build a curated ear, start with placements rather than purchases. Choose one anchor piece, add two or three supporting studs at deliberately different sizes, repeat one element across all of them, and let each new placement heal on its own calendar before you style it. The composition is a plan, not a shopping list.
That order is the part most people skip. A set bought in one afternoon arrives in matching sizes, in whichever metal was discounted, at gauges that may not fit the piercings you have.
Flat back posts made the format practical, for a mechanical reason rather than a fashion one: with no butterfly clutches behind the ear, pieces can sit close together without their backs colliding. If the hardware vocabulary is new, flat back earring basics covers the parts and the material standards. This article is about the design decisions on top of them.
What a Curated Ear Actually Is
The phrase began as a brand term. Wikipedia's entry on the New York jeweler Maria Tash credits her with coining "Curated Ear" to describe an ear pierced with fashionable intention and under the direction of piercing experts. According to Tash herself, quoted by Infinite Body Piercing, the phrase "first emerged in late 2015, early 2016" before spreading as a generic description of ear styling.
Stripped of the marketing, it names three decisions:
- Which placements you hold. The piercings you have, or intend to have, in a specific anatomical order.
- What sits in each one. Scale, metal and shape, judged against the neighbours rather than one piece at a time.
- What you leave empty. Negative space is a design element, and the only free one.
We would add a fourth that the trend coverage leaves out: which specification each placement demands. An arrangement that photographs well and fits badly is not finished.
Map the Ear Before You Buy Anything
Placements are anatomy, not trends, and the anatomy is older than the trend. The StatPearls reference on external ear anatomy describes the auricle as a fibrocartilaginous structure organised into folds including the helix, antihelix, concha, tragus and lobule, and notes that the lobule is the only part of the auricle containing no cartilage, consisting instead of fibrofatty connective tissue.
That one fact governs most of what follows. The lobe is soft tissue. Everything above it is elastic cartilage, with its own thickness, stiffness and timetable.
| Placement | What it is anatomically | Role in the composition |
|---|---|---|
| First lobe | Fibrofatty lobule, no cartilage | The default anchor position, and the one most people already have |
| Second and third lobe | Still lobule, moving upward | Rhythm and repetition, usually in descending size |
| Helix | Outer upper rim of the auricle | The outline, read from across a room |
| Flat | The plane piercers call the flat, inside the upper rim near the antihelix | Carries a wider or more detailed front without crowding |
| Conch | The deep conchal bowl, divided into cymba and cavum | The biggest single visual statement available |
| Tragus | Cartilaginous projection in front of the ear canal | A small accent that reads from the front of the face |
Choose placements in that vocabulary, not from a photograph. "A stud in the flat" is a decision a piercer can act on.
Why Placement Changes the Spec, Not Only the Look
Ear cartilage is not uniform, and the difference has been measured. In a 2016 study in Annals of Biomedical Engineering, researchers characterised auricular cartilage from fifteen cadavers, measuring thickness with digital Vernier callipers, and found the helix and antihelix significantly thinner than the concha, antitragus and tragus cartilage, at a p value below 0.01. The same paper puts the compressive elastic modulus of conchal cartilage at 2.08 MPa against 1.41 MPa for the helix: the bowl of the ear is both thicker and stiffer than its rim.
So one post length will not serve a whole ear. A length that sits flush in a lobe is usually short in a conch, and a conch length in a lobe leaves the post standing proud, where it catches on everything.
Gauge varies too. Retail size charts commonly list 16G, which is 1.2 mm, for cartilage, against 20G at 0.8 mm or 18G at 1.0 mm for a standard lobe. Those are not interchangeable in either direction, and a post thicker than the channel it goes into is not a styling problem. We treat the numbers in full in our guide to earring gauge and post length.
Shortlisting the best cartilage earrings is therefore a per-placement exercise rather than one purchase.
Plan the Order of Operations in Months
A curated ear runs on a biological schedule you do not control. The Association of Professional Piercers notes in its piercing FAQ that tougher tissue such as ear cartilage, navels and nostrils "may take six months or longer" to heal. A four-placement upper ear is a project measured in seasons.
A workable sequence, offered as planning rather than as piercing advice:
- Start from what is already healed. Existing lobes cost nothing and settle the metal tone for everything else.
- Commit to the anchor second, not last. The rest of the arrangement is sized against it.
- Add cartilage one placement at a time. Two fresh piercings on one rim complicate sleeping on that side.
- Leave the small accents until the end. A tragus or forward helix is the easiest thing to add to a finished composition and the easiest to regret in an unfinished one.
Two cautions on jewelry changes in that window, both the APP's rather than ours. Its guidance warns that early on "the piercing is not healed enough to safely change your jewelry by yourself", and the downsize from longer initial jewelry to final wearable length is a visit, not a styling session. Anything irritated, swollen or weeping belongs with your piercer or a clinician, not with a buying guide.
Spacing, and Why Even Spacing Looks Wrong
Three studs at identical intervals read as a measurement. The same three clustered as a pair plus a gap read as a choice. That is a judgement rather than a rule, but it is the most reliable one we apply to an ear that is not working.
- Group, then leave a gap. Two placements close together, with a deliberate space before the third, gives the eye somewhere to rest.
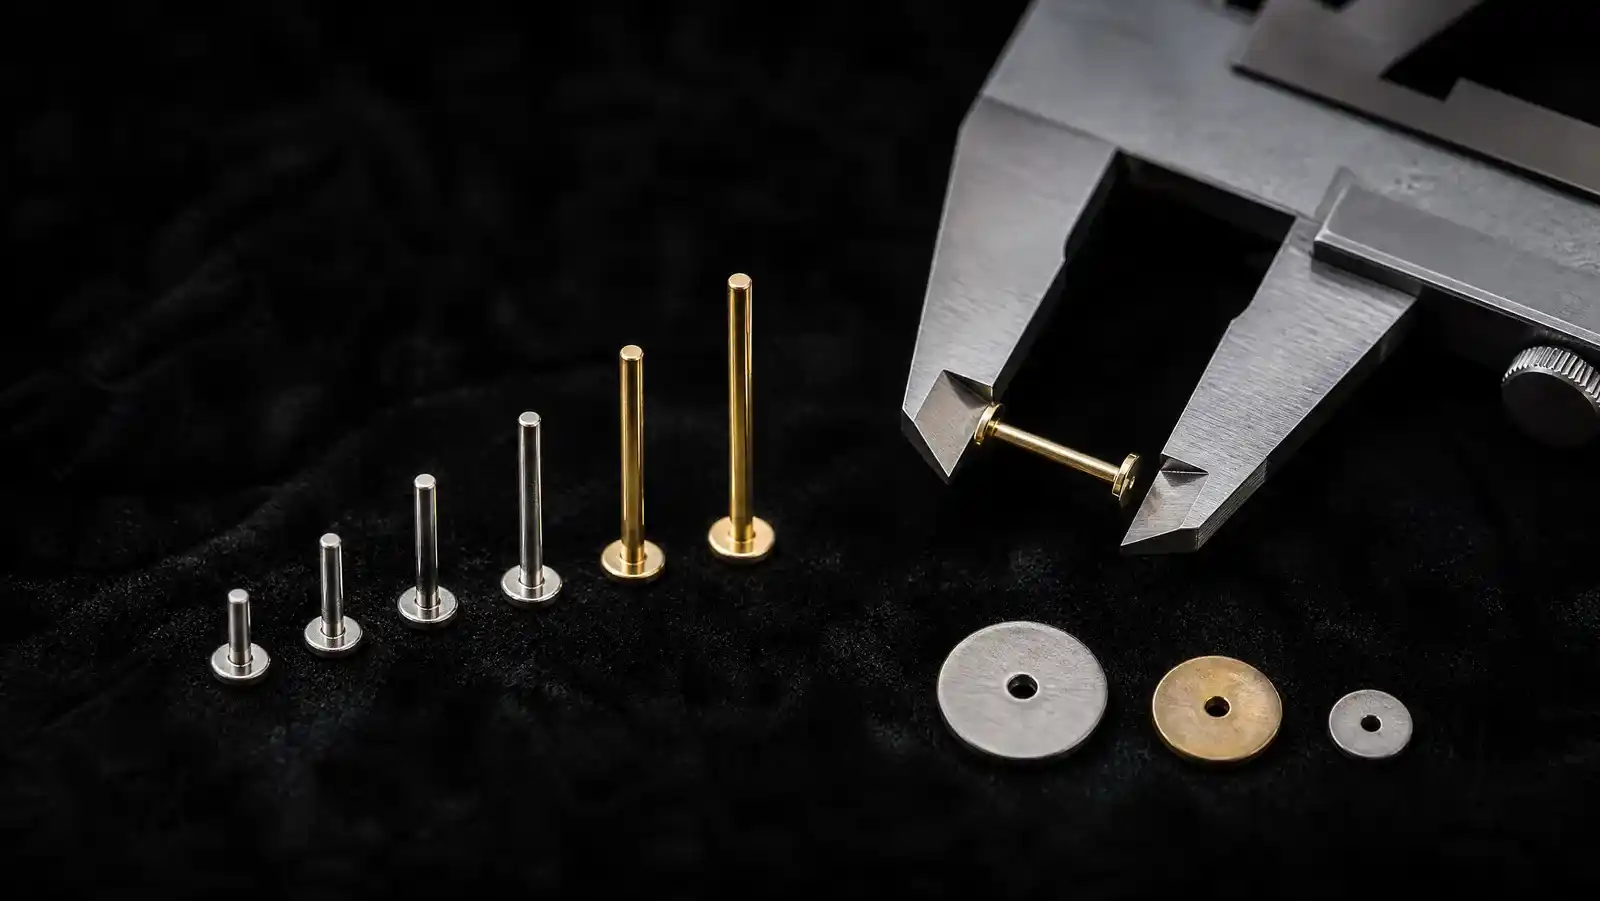
- Mind the clearance behind the ear. Flat back discs are commonly sold at 2.5 mm, 3 mm and 4 mm diameters. Placements sited close together need the smaller discs, or the plates overlap and press where you cannot see them.
- Spacing is set at the piercing, not at the earring. Where a hole sits is permanent, and only a piercer can say whether your ear has room for the interval you want.
Scale: Three Sizes, Not Three of the Same Size
Varying scale is the single change that makes an ear look designed, and it costs nothing. Use one dominant piece, one mid-size piece and one or two small ones, rather than a graduated set in which every piece differs slightly. Small differences look like a mistake; clear differences look like a hierarchy.
- Put the largest piece in the thickest tissue. The conch carries a wide front without the ear looking overloaded. A helix rarely does.
- Let the smalls repeat. Two identical 2 mm stone-set studs behave as a pattern rather than as two separate decisions.
- Weight is a scale question too. Heavy fronts hang differently on a thin rim than in a bowl, and the APP's jewelry guidance is explicit that jewelry too thin in gauge can contribute to migration.
Still deciding what to put on those posts? Our rundown of earring shapes and designs narrows it faster than scrolling listings.
Mixing Metals on Purpose
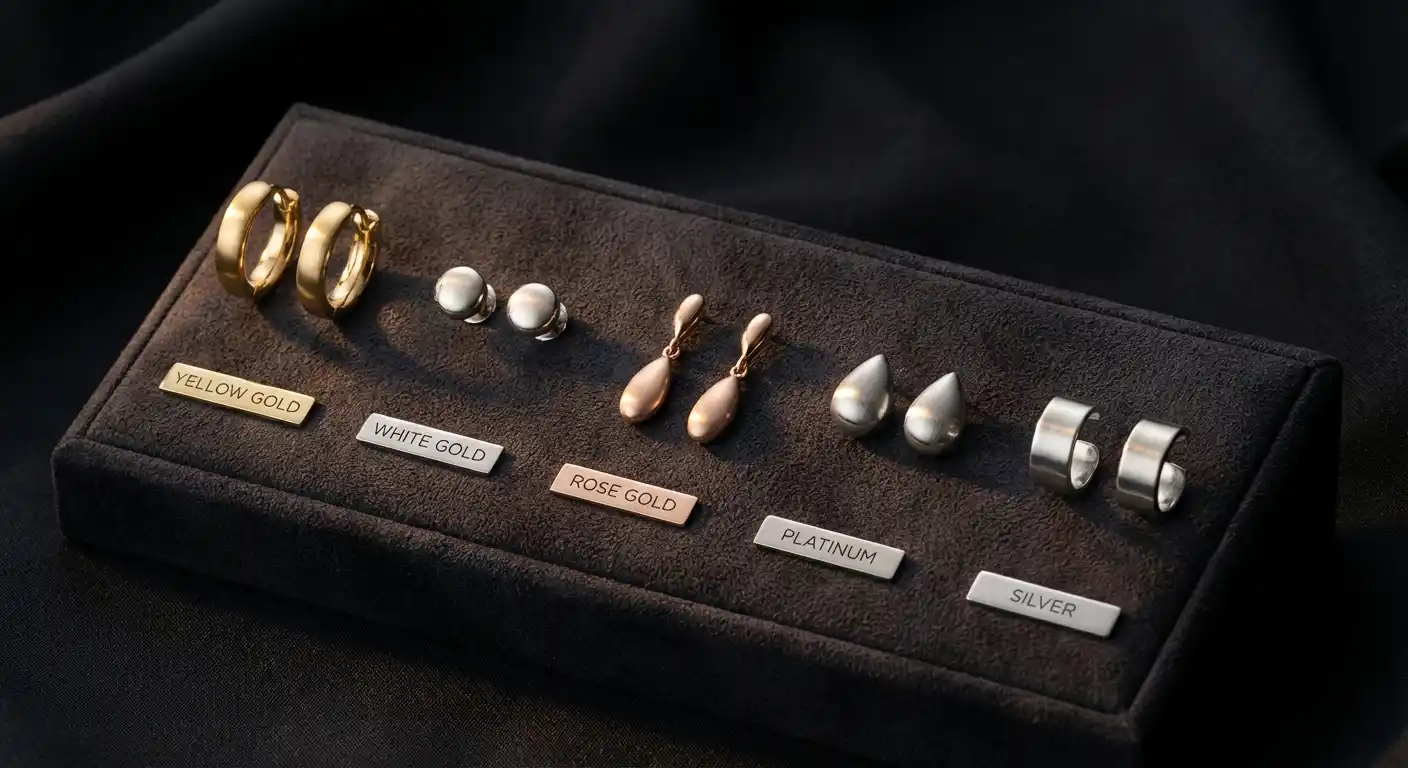
Two tones in one ear is an effect, not a compromise, and it works when the mixing is structural. One tone carries the anchor and its closest neighbours; the second appears at least twice elsewhere so it reads as intent; nothing is left as a single orphan.
What the metal does mechanically matters more than its colour, because a curated ear multiplies the number of posts in your skin at once.
- Gold is a specification, not a finish. The APP's standard for precious metal in a piercing is solid gold at "14k or higher, nickel- and cadmium-free, and alloyed for biocompatibility", and it states that gold plated, gold filled, and gold overlay or vermeil jewelry is not acceptable for a fresh piercing.
- Vermeil has a legal floor, and it is thin. Under the FTC's Jewelry Guides at 16 CFR 23.4(b), a product may be called "vermeil" only if a sterling silver base is plated with gold of at least 10 karat fineness to "a minimum thickness throughout equivalent to two and one half (2 1/2) microns". That is the floor for the word, which tells you how little a gold-toned surface can be.
- Nickel release is regulated at the post. Entry 27 of Annex XVII to the EU's REACH regulation bars post assemblies inserted into pierced ears unless nickel release stays below 0.2 micrograms per square centimetre per week, against 0.5 for other articles in prolonged skin contact, with compliance assessed by the harmonised test method EN 1811. The tightest limit in the regulation applies to exactly the part of an ear stack you own the most of.
So mix tones freely at the front and stay conservative at the post. If you already know you react to a metal, our guide to metal allergies and earring choices sets out the material shortlist.
Build Everything Around One Anchor
An anchor is the piece the rest of the ear is measured against: usually the largest front, usually in the thickest tissue, always the one you would keep if you removed everything else.
Choosing it first fixes the metal tone, caps the scale of everything else, and decides where the eye lands. Buying it last is how ears end up with two competing focal points.
It is also the piece worth overspending on, and quality here is checkable rather than vague. The APP's jewelry standards require that jewelry be "free of nicks, scratches, burrs, and polishing compounds", with surfaces "polished to a smooth, mirror finish". Run the anchor's post between your fingers before you commit to wearing it continuously.
Cost Pacing: the Posts Are the Investment
A flat back is a system: a post with a disc at one end, and a decorative front that detaches. The APP accepts both internally threaded jewelry, where "the part of the jewelry that passes through your skin is smooth, and the threads are on the removable end", and threadless press-fit designs. Either way the part going through your ear is reusable, and the part people see is not fixed to it.
That splits the spending usefully:
- Buy posts once, in the right specification. Correct gauge, correct length per placement, in a standard-grade material. These are the parts you sleep in and the parts regulated at the post. Our shortlist of the titanium flat backs we recommend judged those specs against what the listings actually publish.
- Buy fronts gradually. Fronts are the cheap, swappable layer. One well-fitted set of posts can carry years of them.
- Check that fronts and posts share a system. Pin diameter and thread pitch differ between makers, so a front from one brand may not seat in another's post.
Keeping the set wearable is maintenance, not purchase: our earring cleaning and care routine covers posts and discs without damaging a plated front.
What to Leave Alone
Do not pierce to fill a gap. A new placement is permanent and slow, and chosen under pressure from an arrangement you may rework within a year. Styling an empty space costs nothing.
Do not assume a retired placement stays available. The APP's FAQ is blunt: "Even long after the piercing is totally healed, it may or may not stay open without something in place." If a placement is part of the plan, keep jewelry in it.
Do not mirror the ears. A curated ear is usually asymmetric by design. Matching both sides doubles the cost and the healing, and removes the thing that makes the format read as deliberate.
Common Questions About Building a Curated Ear
How many piercings do you need for a curated ear?
Three makes scale, spacing and repetition visible, and many ears are built on two lobes plus one cartilage placement. It is a composition question rather than a count: one anchor with a single small accent looks more considered than six pieces of similar size.
Can you mix gold and silver tones in the same ear?
Yes, and mixing deliberately is a recognised approach rather than an error. Make the second tone appear at least twice so it reads as intent, and keep the material standard, not the colour, as the deciding factor for anything passing through skin.
In what order should I get the piercings?
Work from healed tissue outward: style existing lobes first, commit to the anchor second, then add cartilage one placement at a time. Since the APP puts cartilage healing at six months or longer, a full upper ear is a multi-season plan, and the sequencing belongs with the piercer who can see your anatomy.
Do all the earrings in a stack need the same gauge?
No, and usually they should not. Size charts commonly list 16G at 1.2 mm for cartilage against 18G at 1.0 mm or 20G at 0.8 mm for lobes, so one ear often holds two or three gauges. Match each post to the piercing it goes into, never to the rest of the set.
The Bottom Line
A curated ear is a sequencing problem disguised as a shopping problem. The placements are anatomy. The healing runs on a timetable the APP measures in months for cartilage. The specifications are set per placement, because the conchal bowl is measurably thicker and stiffer than the helix. Scale, repetition and negative space are the cheap decisions, and the ones you can change any day.
Decide the anchor, buy posts in the right specification once, then let the fronts accumulate. For the hardware underneath all of it, see our complete flat back earrings guide.
About the Author
Alfreda Borror
Alfreda Borror is the founding editor of Opulent Opal, writing research-based buying guides on diamonds, birthstones, and fine jewelry.